
WHAT WE THINK?
Loading...
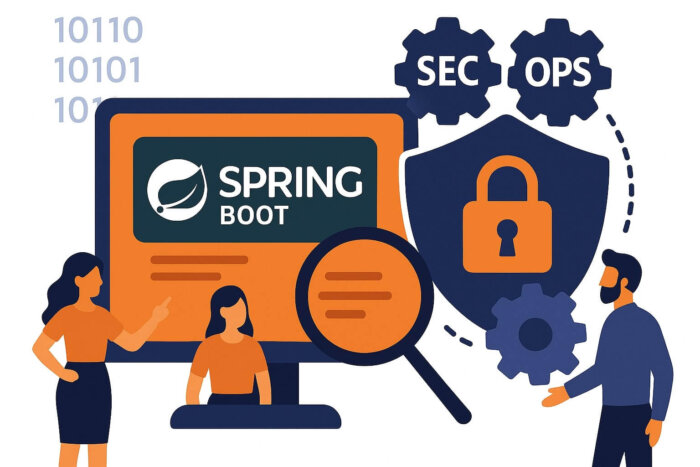
Secure API and the Growing Role of DevSecOps in Application Security
Is your API secure? Discover real breach cases and how DevSecOps strengthens protection for Spring Boot applications.
26 March 2026
3 minutes

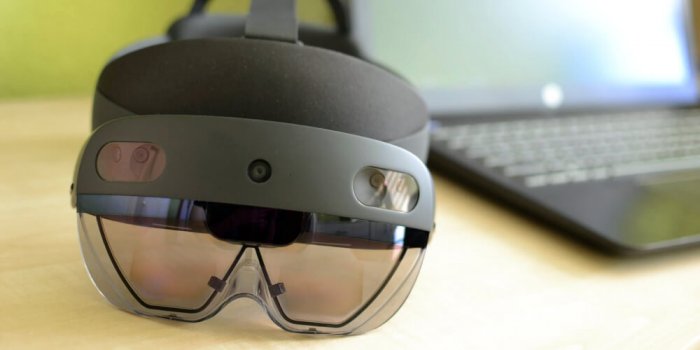
Onboarding VR in the TikTok Era – The Recipe for Engaging the Young Generation
Have you recently wondered why it’s becoming increasingly difficult for people to focus on one thing for a longer period of time? This phenomenon is being noticed by more and more people today – and in many different areas of […]
4 December 2025
3 minutes
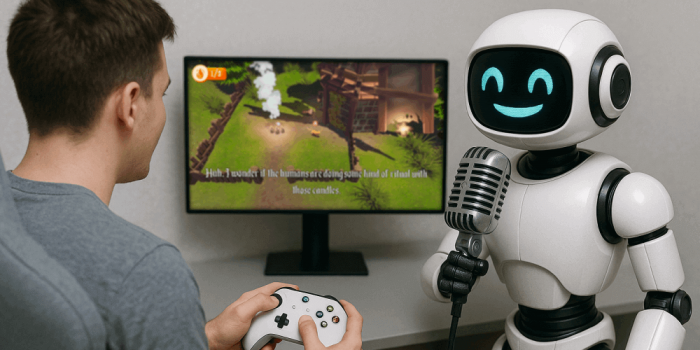
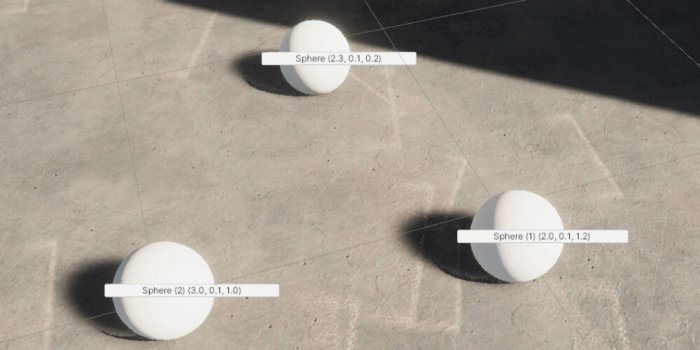
AI in Game Dev: How AI is Revolutionizing Game Creation
When over a year ago, together with several other programmers from our team, we participated in HackJam. We decided to tackle the topic of artificial intelligence in game development. We were looking for an idea that would allow us to […]
23 October 2025
5 minutes
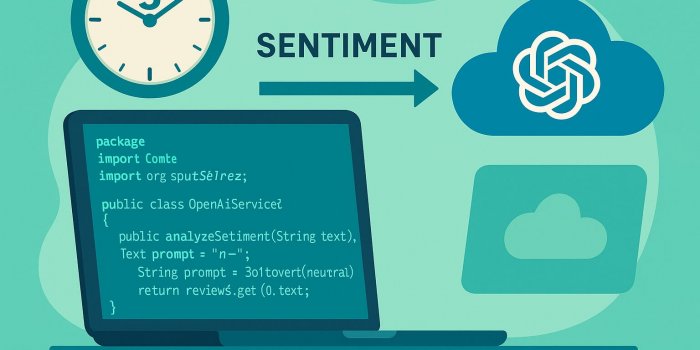
Java + AI in 5 Minutes: A Simple Microservice with Sentiment Analysis Using OpenAI (Part 2)
Build a fully working Spring Boot microservice in just 5 minutes to analyze text sentiment using OpenAI – no Python or NLP experience needed.
31 July 2025
3 minutes
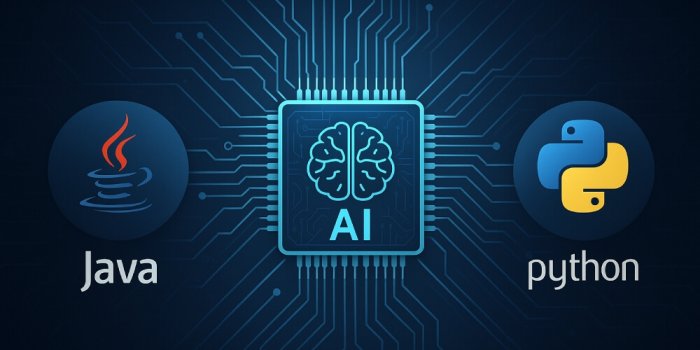
Java + AI in 5 Minutes: Does It Make Sense When There’s Python? (Part 1)
Python dominates AI, but Java still plays a strong hand. Here’s how to easily integrate AI models into JVM-based applications – no stack overhaul required.
15 July 2025
3 minutes

What do Yamaha, Keith Urban and itSilesia have in common?
What connects Yamaha, Keith Urban, and a Polish software house? An innovative guitar learning app that inspires daily practice with gamification and cutting-edge technology.
26 March 2025
2 minutes

Trade fair applications – Sink or Soar?
Wondering if investing in interactive trade show applications really pays off? Discover when these solutions bring true business value – and how to avoid costly disappointments.
20 March 2023
2 minutes

2022 Summary of the year
Before we know it, another year of joint adventures and work is behind us! Enjoy our summary of 2022!
2 January 2023
3 minutes

Why do we need AI in VR and AR, and how did we do it?
“Why”, or more precisely, “for what purpose?” AR and VR are, respectively, indirect and direct interactions of hardware and software with humans. We have already written about the differences between AR and VR technologies on our blog (here). Because each […]
3 November 2021
7 minutes

A brief overview of what artificial intelligence is.
What exactly is AI, how did it come about, and can it ever match the human brain? Discover the fascinating story behind intelligent algorithms—and find out if AI really is the future that’s already here.
1 September 2021
5 minutes
How to distinguish AR from VR?
Augmented Reality (AR) and Virtual Reality (VR) technologies are something everyone has probably heard of recently. Their popularity, undoubtedly thanks to their spectacular features -while remaining relatively accessible – is certainly not decreasing. These technologies are still being developed and
4 August 2021
4 minutes

Summary of 2020 at itSilesia
Completion of the prototype of our product BELL VR Thanks to the support received in the Design for Entrepreneurs competition, we successfully realised the tool prototype for conducting training sessions and presentations in VR. The platform enables presentation of the […]
7 January 2021
1 minute

Virtual Reality (VR) in Business – More Than Just a Cool Gadget
Virtual Reality (VR) has been taking trade shows, promotional booths, museums and industry events by storm for years. Whenever someone in a conference room suggests “let’s look cutting-edge,” chances are one of the first ideas will be “let’s do something […]
2 July 2020
2 minutes
How to debug your Unity application?
Sometimes things happen or do not happen differently than we expect it. That often requires a thorough investigation of the causality and flow of our code. The first move would normally be to throw a Debug.Log somewhere, where we expect […]
2 March 2020
4 minutes
How NOT to Write Code in React JS
React, Vue, Angular, Ember, Backbone, Polymer, Aurelia, Meteor, Mithril.js, Preact… There are many super fancy Javascript frameworks nowadays. We can write anything we want, it’s comfortable, easy to understand, although difficult to master. After few lines of code, even […]
10 December 2019
8 minutes
Neo4j with Spring Boot
In this article, I will show you the advantages and disadvantages of the neo4j graph database, the technology that is being used by big companies like Google, Facebook or PayPal. I will also show you how to create and populate […]
10 June 2019
6 minutes
6 Tips That Every MySQL User Should Know
Over the last 3 years, I have been working with MySQL almost every day. Even though non-relational databases like MongoDB are gaining more and more popularity every year, traditional SQL solutions are still widely used for many purposes. In this
15 April 2019
7 minutes

Let’s shake some trees – how to enhance the performance of your application
Nowadays JavaScript applications are getting bigger and bigger. One of the most crucial things while developing is to optimise the page load time by reducing the size of the JavaScript bundle file. JavaScript is an expensive resource when processing and […]
14 January 2019
3 minutes
Budget-Friendly Kubernetes: How to Run Your Cluster Without Breaking the Bank
Since the last few years, Kubernetes has proved that it is the best container orchestration software on the market. Today, all 3 biggest cloud providers (Amazon, Google and Azure) are offering a form of managed Kubernetes cluster in form of
13 November 2018
12 minutes
Implementing a Continuous Integration System with GitLab and Unity
After countless days and nights spent building applications by hand, we finally decided to streamline part of our workflow through automation. But… why? Our primary motivation for implementing a Continuous Integration system was to reduce the time spent on […]
21 September 2018
3 minutes

I’ve got the power – how to control remotely your PC using Grails
In this article I will show you how to control remotely your windows computer via the local network using Linux machine and Grails application. First we will turn on a device with Wake-On-LAN (WOL) method and then turn it off […]
21 August 2018
3 minutes
Populate database in Spring
Once upon a time there was BootStrap class. The class was a very friendly class, therefore it befriended many more classes. With more classes inside, BootStrap grew bigger and bigger, expanding itself at the rate of the entire universe. This […]
14 May 2018
3 minutes
How GitLab helps us move fast at itSilesia
Continuous Integration and Continuous Delivery have taken the world by storm. The nature of our business forces development teams to move quickly and be as efficient as possible, both in regards to standard software development, but also it’s delivery and […]
5 March 2018
11 minutes
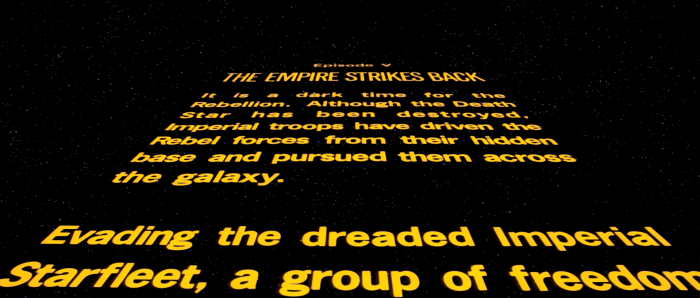
Star Wars opening crawl based on CSS animations and transformations
Ten years ago, nobody could have predicted just how far front-end development would come. CSS was used to style elements on a page, but complex tasks such as animations and transformations had to be handled with JavaScript or the popular […]
17 November 2017
7 minutes

Refreshed image
A polish classic says: “sit deeply in an armchair, tighten your belts and start”. We do not have a ribbon to cut, so another chapter in company’s history will be immortalized by an inaugural entry on a blog. itSilesia […]
31 October 2014
1 minute